


Check the fit of your saddle - 7 simple steps
Why check your saddle fit regularly?
As a horse owner, you have a responsibility to ensure your horse is comfortable and capable of performing the job you are asking of him/her.
Many horse owners do not know how to check their saddles, and are not able to recognise key signs that a saddle does not fit.
This article is designed to highlight to horse owners to check your saddles regularly, so that if you spot something that could be causing pain/discomfort you can react quickly by contacting your local qualified saddle fitter and have them out to assess the saddle.
To learn more about Saddle Fitting and how to recognise the signs of a poor fitting saddle please click HERE
7 simple checks to carry out on your saddle
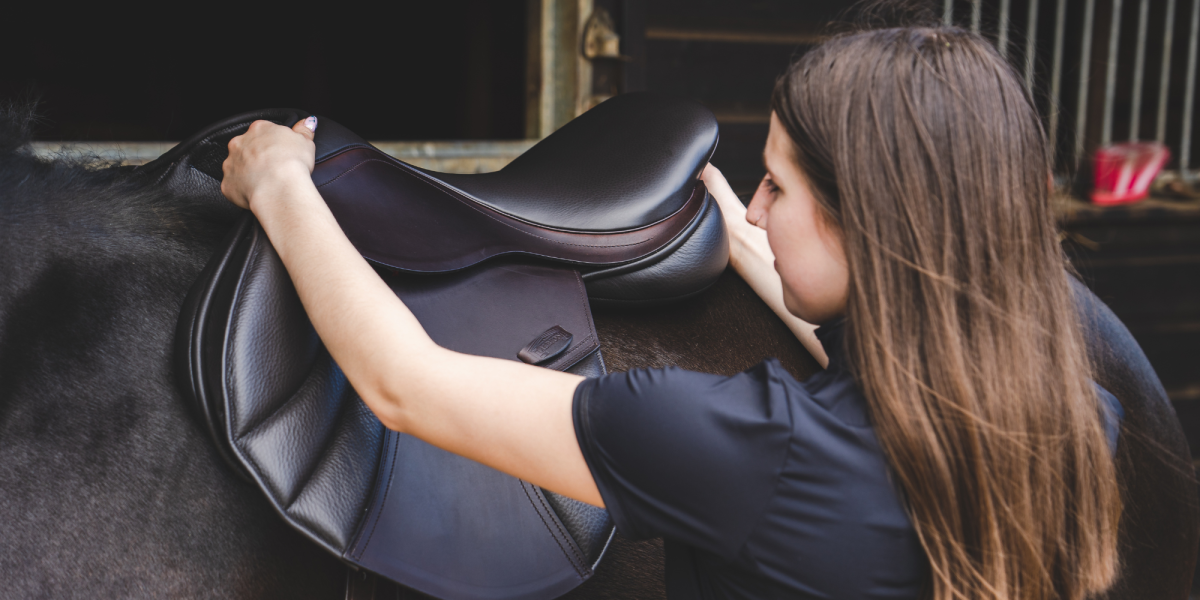
Check the width of the saddle - the points of the tree against the horses back shape
Firstly check if the width of your saddle is suitable.
To do this you need to look for the points of the tree.
Stand next to your horse, with your left shoulder to the horses left shoulder (facing its bum).
Look at the angle of the point of the saddle, and look at the angle of the horses shoulder.
You should be able to see if the point is following the shape of the horse, or if it is sticking inwards (too narrow), or if it is sticking outwards (too wide).
You should be looking at the angle of the POINT, not the panel.
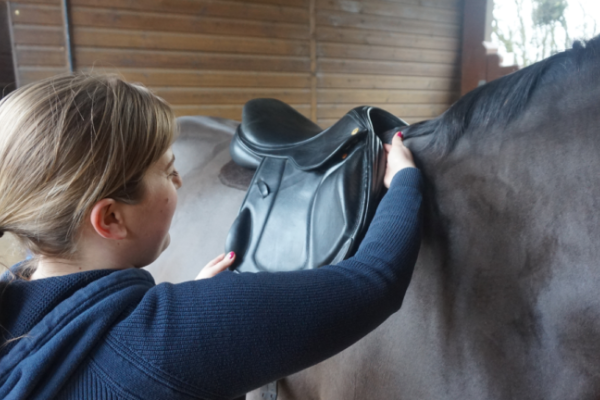
Check balance of the saddle
Secondly check to see if the saddle is balanced.
When placing it on the horses back you should be able to see if the pommel and cantle are sitting level.
(NOTE: Some saddles do have high cantles, but you should be looking to see if the saddle is level)
Some saddles will sit with the pommel too high, which will push the riders weight too far back in the saddle, which could cause muscle atrophy under the panels.
Some saddles sit too low at the front, which will drop down over the withers and cause discomfort in a very sensitive area.
To check the balance, put one hand on the pommel and one hand on the cantle and gentle put weight on alternating ends.
A balanced saddle should not show much movement. If a saddle is unbalanced you will see the cantle lift quite a lot when putting pressure on the front.
Check wither clearance
The next check is something most riders are aware of; ensuring sufficient clearance between the pommel and the withers.
Ideally 4 fingers should provide sufficient clearance here, but please ensure the saddle is still clearing the withers once the saddle is girthed up and the riders weight is on board.
Often a poor fitting saddle will drop down over the withers with a rider on.
Check clearance at sides of the wither
A crucial step which is often not thought of by horse owners, is sufficient clearance either side of the withers.
This area is particularly sensitive so ensuring there is enough space either side is vital to your horses comfort and performance.
Check sufficient space either side of spine at rear of the channel
The gullet channel of your saddle should not sit on or closely either side of the spine.
Ensure there is sufficient space all the way down the gullet channel on your horses back.
Check front of panel for blockages
When checking the fit of your saddle run your hand down the front of the panel and check for blockages.
You can do this palm up or down - whichever works best for you.
Check for bridging/lightness under the saddle panels
Now check for bridging.
Bridging is where the saddle does not make contact consistently along the panel.
There is a gap in the centre, meaning it touches the horse and the front of the panel, and at the back, but not in the middle; essentially creating a bridge.
This will cause uneven pressure points and extreme discomfort for the horse.
Palm down (or up) whichever works best for you, run your hand underneath the panels, whilst placing light pressure on the saddle.
You should not be able to feel any gaps, or holes, but a smooth, even contact.
Once you have checked these steps, repeat on the other side.
Watch the video here:
What else on your saddle should you check?
You should also check the panels of your saddle for lumps, gaps, uneven flocking.
To do this, place the saddle down, and run your hands along the panels.
Saddles should be completely stripped and reflocked every 2 years, and following a reflock (or if its a new saddle), the flocking will settle after around 20 hours of use. Therefore you may need some additional flocking added.
You should also check the straps to ensure they are in good condition, with no splits, and that the stitching on the straps is all in tact and secure.
Finally, check the stitching on your saddle flaps to make sure there are no loose stitches.
Should you find any issues with any of the above call your local qualified saddle fitter immediately so they can carry out the necessary repairs.
Learn more about saddle fit issues
To learn more about saddle fit issues from an owner or riders perspective, click on the image below.


